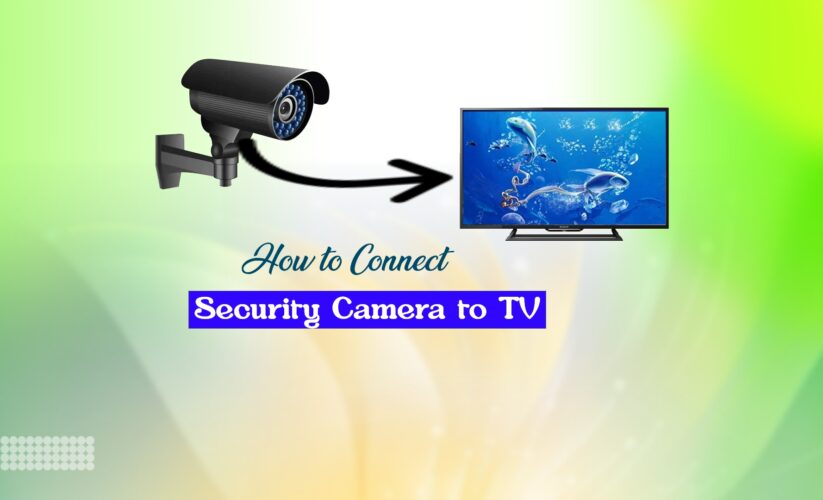
How to Connect Security Camera to TV – Your Comprehensive Guide
Security cameras are crucial tools for keeping an eye on and guarding your house or place of business against potential dangers.
But occasionally, you might want to watch your security cameras’ live stream on a bigger screen—like a TV. How can you see your security cameras from the comfort and convenience of your couch? How to connect security camera to TV?
You need to use an HDMI or VGA cable to connect the security camera to a TV for live viewing. Then, a BNC to RCA converter can be used to connect your CCTV camera to the TV without a DVR. But if you want to transmit high-quality audio and video, then you should use an HDMI cable for connection.
Now, you need to utilize Wi-Fi or cellular signals and connect your wireless security camera to a television. Finally, use a splitter or switcher to connect two security cameras to a single TV.
How to connect security camera to the TV: A Step-By-Step Guide
We’ll walk you through all the options for connecting a security camera to a TV in this comprehensive tutorial. We can assist you with wireless cameras, several cameras, or even a CCTV system.
Step 1: Check Your TV and Camera Ports
Examine your TV and security camera for available ports. Most modern TVs have HDMI ports, while cameras might have HDMI, VGA, or RCA ports. It cannot be overemphasized that one must verify with utmost care that the precise cables matched to your distinct arrangement are being employed.
Step 2: Choose the Right Cable
Select the appropriate cable based on your TV and camera ports. For HDMI connections, use an HDMI cable. If your camera doesn’t have HDMI, consider VGA or RCA cables and adapters if needed.
Step 3: Power Off Devices
Turn off both your TV and security camera. It’s essential to establish connections with devices powered off to prevent electrical issues.
Step 4: Connect the Cable
Insert one end of the cable into the port on your security camera. If using HDMI, ensure it’s snug. Next, attach the remaining end of the cord directly to the matching port located on your television.
Step 5: Power On Devices
Power on your security camera first and wait for it to fully boot up. Having located the proper input, you may then power on your television and toggle to the corresponding video source via your remote to view the desired content.
Step 6: Configure Camera Settings
Once the TV displays the camera feed, adjust the camera settings if needed. The camera’s manual should be consulted for specifics on how to customize resolution settings, enable motion detection functionality, or alter other user-defined options according to individual needs and preferences.
Step 7: Test the Connection
Ensure the live feed from the security camera is displayed correctly on your TV. Check for clarity and smooth video transmission. Should the linking prove fruitful, you will have functionally joined your surveillance camera to your television set.
Step 8: Mount the Camera (If Necessary)
If you’re satisfied with the setup, mount your security camera in the desired location while keeping the TV display in view for easy monitoring.
And that’s how you simply connect the security camera to the TV. Although, that’s not where it ends.
How to connect a wireless security camera to a TV
Here is a comprehensive guide on how to connect a wireless camera to a TV:
Step 1: Examine your TV and camera
Make sure the wireless security camera and the TV are both connected to the same WiFi network. The majority of smart TVs in use today can connect wirelessly.
Step 2: Turn on the camera
Make sure your wireless security camera is linked to your Wi-Fi network and turns on. To connect your camera to Wi-Fi, follow the directions in the camera’s manual.
Step 3: Enable WiFi on Your TV
Go to your TV’s settings menu and link it to the same Wi-Fi network as your security camera if it isn’t already connected to one. For setup instructions for your TV’s Wi-Fi, go to the user manual.
Step 4: Set Up the TV App for the Camera
Numerous smart TVs come with built-in app shops. On your TV, look for and install the app that came with your camera (it might say “Camera Brand Name” or “Security Camera App”).
Step 5: Launch the Camera App
On your TV, open the camera app. You may be required to log in using the account credentials associated with your camera if this is your first time using the app. To finish the setup, adhere to the prompts displayed on the screen.
Step 6: Add Your Camera
There ought to be a way to add a new camera or device within the app. If you want to add your wireless security camera, select this option and follow the app’s instructions. Usually, you’ll have to input a unique device ID or scan a QR code.
Step 7: Examine the Camera Feed
You should be able to view the live feed on your TV screen as soon as your camera is connected. Use the app’s navigation to access various camera views and settings.
Step 8: Customize the Camera Preferences
To change camera preferences, such as motion detection, recording settings, or notifications, go to the app’s settings. There, you can adjust these settings to suit your needs.
Step 9: Examine the Link
Make sure your TV is correctly displaying the live video from your wireless security camera. Make sure there are no lag issues and clear video streaming.
How to hook up two security cameras to one TV
In addition to improving home security, installing several security cameras on a single TV allows for easier monitoring from one place. We’ll walk you through the process of connecting two security cameras to one TV step-by-step in this tutorial.
This comprehensive tutorial will assist you in setting up a smooth multi-camera configuration, whether you’re utilizing wired or wireless cameras.
Step 1: Select the Proper TV and Cameras
Make sure the TV and security cameras work together. Examine the accessible ports and camera outputs (VGA, HDMI, or RCA) on your television. Acquire any required cables or adapters to fit the connectors.
Step 2: Set Up Your Cameras
Choose where your cameras will work best. Arrange them so that they cover important regions and still have a clear view of the TV. Using the manufacturer’s instructions as a guide, securely mount the cameras.
Step 3: Measure the Length of the Cable
To find the necessary cable lengths, measure the distance between your cameras and the TV. The proper cable lengths are crucial to preventing clumsy installations and signal problems.
Step 4: Configure Power Supplies for Cameras
Make sure the cameras have power. A power source close to where they are installed should be connected to them. Run video and power wires simultaneously for cameras that are connected. Wireless cameras broadcast video wirelessly, but they require a power source.
Step 5: Link the TV and Cameras
Regarding Wired Cameras:
Connect each camera to the appropriate port on a video switcher or multiplexer device using an HDMI, VGA, or RCA cable.
Use the proper cable to connect the multiplex or video switcher to the TV.
Turn on the TV, the switcher/multiplexer, and the cameras.
Regarding Cordless Cameras:
As directed by the receiver’s manual, connect a wireless receiver to the TV using an HDMI, VGA, or RCA connection.
You should follow the manufacturer’s instructions for pairing your wireless cameras with the receiver.
Turn on the TV, receiver, and cameras.
Step 6: Open the Multi-Camera View
Choose the input source that matches the port that the video switcher, multiplexer, or wireless receiver is connected to using the TV remote. Now, both camera feeds should be seen simultaneously in a multi-camera view.
Step 7: Modify the Camera Settings
Use the apps or interfaces for each camera to access the settings and adjust motion detection, resolution, and other features to your liking.
Step 8: Evaluate the System
Make sure the TV is showing the images from both cameras. To get the desired view, experiment with various camera angles and make any necessary corrections.
FAQs
Can I connect any security camera to a TV?
Yes, most modern security cameras support TV connections. However, it’s essential to check compatibility and available ports on both your camera and TV.
Do I require specific cords in order to link my camera to my TV?
The type of cable you need depends on your camera’s output and your TV’s input ports. HDMI and VGA cables are commonly used for these connections.
Can I connect wireless cameras to a TV without additional devices?
Indeed, you may use Wi-Fi or Bluetooth connections to attach wireless cameras to your TV. Some smart TVs have dedicated apps for specific camera brands.
Conclusion
You can keep an eye on your property effortlessly from your living room, enjoying a myriad of choices by linking your security camera to your TV. Regardless of your preference for wired or wireless configurations, you now possess the expertise to achieve your goals.
Here, we have explained and guided you on how to connect security camera to TV. Now, it’s your duty to enhance your security setup and enjoy the convenience of monitoring your space directly on your TV screen. Stay safe and connected!
Recommended Posts:
- How to Reset IP Camera without Reset Button
- How to Connect Ring Camera to WiFi
- How to Share Ring Camera Access